Thursday, February 17, 2022

Milestone Project - Visual Documentation

 Greetings. 

Here's my Lample!


It has been a very long time since I have rendered... not sure why it looks so blurry. 


Long road to get to this. I needed to re-create my definition from scratch from last week as I had just so much junk in my definition. I had a hard time with dispatch even though we went through it during my 1:1 time. As soon as I started to mess with it, it stopped working and it took a while to figure it out again. I did figure out a work around, however Bryan's way was way cleaner. I also lost all my geometry on this one so, I had to rebuild... Le sigh. It did go faster the third time around, but set me back nonetheless. 

Countless hours in front of my computer, and watching Youtube videos, I wish I had something more impressive to show. My biggest challenge was getting the bake to work, as I would get three different poly surfaces. I tried multiple things, and also reached out to a classmate who suggested deconstruct brep, and then Cull Item, then merge. I had troubles sorting out the surfaces in list management. I could have made this Lample from steel, cut out my curves with a plasma cutter, welded, and finished in the time it took me to create this. 

I would like to talk about a few things before I attempt my final, as the curves just aren't where I want them to be, yet. 

Materials: I think I will make this out of plexy - I would rather do it out of aluminum but I am not sure I can afford the materials to do so. 

Design Inspiration: I did some research on popular furniture trends and I hated everything I saw as everything is so micro-functional. I like objects that are multi-functional and perhaps because I have lived in an apartment for 10 years I like to keep objects in my life to a minimum, and maximize space. This piece is for my small studio space to provide light, and a table for my tea. Currently I am exploring Bridget Riley's work and I am really interested in organic lines, and optical art. 

Cheers, 

Jess 


Thursday, February 3, 2022

Parametric Furniture Concept

Yo! Happy Thursday. 

I would like to make a table lamp on the CNC Machine. Here are my thoughts and attempts at working these problems out in my good friends Rhino and Grasshopper. 

First I started with a sketch. Can't draw to save my life, but you get the idea. 

Then I did it with cardboard to start working through possible geometry and definition before I hit the computer. 


Ready to get started on my design, I began in Rhino as I am more comfortable with the tools in Rhino and the translation between Rhino and Grasshopper is a challenge for my brain, but a welcome one.  


Many Challenges as you can see. I am really excited about this concept though and went into Grasshopper to begin the process of creating this. Here is my beginning definition. 


Challenges:
Shell - Could not figure out how to get this to work. 
Fillet - Could not sort this out either. Had trouble with defining the curve, when I selected my Brep Join it went red on me. Not 100% Sure where to assign the geometry. 
Curve - I would like to be able to break the curve down and alter it. I did build the wiggle curve in Rhino, moved it and then assigned the curve in Grasshopper. 

Things I would like to learn:
Wiggle Curve - The curve shape how I can scale this to different sizes, is it possible to array the curve and then add it to the poly surface before doing a SDiff? I would like to be able to remove negative space from all sides of the surface and different on each surface. I can't even begin to comprehend how to move forward with that. 
Interlocking edges - The other idea I have is to have interlocking edges to put this together. I wonder if I need to build each individual piece and then put them together? 


Eventually I would like to install a light in the bottom section of this table, and then also have a glass pane on the top surface. In a perfect world, I would love one of the edges of the table to open with hinges for easy access to the inside and be able to change the light when needed. 

Lots of work to do and lots of help needed. Looking forward to bringing this idea to life. 

Thanks! See you tomorrow. 


Thursday, January 27, 2022

Failed Table Animation

Parametric Structure and Animation 

Struggles:

Could not get ReMap to work for multiple sliders. When adding in the Target, Grasshopper would not let me set a domain as shown in class. After multiple attempts I have left it as so. 

I wish I knew how to set materials as well, rather than just the basic - I did go in and up the quality of the render. I did look up how to change the materials on YouTube, and was not able to figure it out. Old version of Rhino? Mac vs PC?

I would have like to apply my own curve, rather than use circles as the geometry is quite basic for this design as well, however I was not able to set the curve and then adjust the radius... 

The Gif would not let me save the file as a .gif. I can view it on my computer, however it will not upload to this blog. It would only save as a PNG. and not as a gif. When I open the file I downloaded from the 'Animated Gif Maker' Website, it only shows me each frame picture. Was a cool .gif. 

I also could not figure out how to make table legs that were something other than a cylinder.  

At this point I am very frustrated. I have spent countless hours working on it this week and I feel like I am no where. I am not feeling successful. 

I am not happy with this work and I am rather embarrassed to post this on my blog. 

Wins:

The SDiff took some finagling as well, but I managed to sort it out.

I managed to make a rudimentary table. 


Thursday, January 20, 2022

Getting the low down on Grasshopper

 Learning Curve:

Okay, Grasshopper. I am super excited to go into the backend of Rhino and be able to add sliders to adjust shapes. I was super annoyed last semester that I was unable to edit shapes without recreating them. The extra time in creating objects in Grasshopper really opens things up, and I hope to get more comfortable with it as we move along. Here are some tutorial shots as I worked through the process. 


This got weird and I wasn't sure what happened and why the pull points on the left were all pulling from one point... what is that? 


Not sure where to start or what to create I pulled from the class activity where I created a flower pot. I worked through the commands such as extrude, cap, and adding colours. I did run into a couple of troubles with BiArcs where it wouldn't loft when I was making the leaves so instead I created the curve and then extruded it. The stem was a little tricky and I can see a bit of a white line down the centre. So much to learn still... 


Monday, November 30, 2020

Milestone Projects

Made it, here it is... the end of the road. We survived. 

This class was a huge challenge for me, the technical nature did not appeal to me at all and I found it very frustrating at times. I've never been brought to tears by maddening frustration over a computer program before. That is why each one of these achievements feels so significant to me, and now I feel like I barely scratched the surface of what Rhino and I could create together. There are some commands I still haven't really explored such as Sweep I or II, never made a screw, or a spring. I have mad respect for what you've all been doing this semester! You all inspire me weekly. 

My survival in this course would not have been possible without a particularly cool and talented individual helping me not once, but twice with some tricky things, and taking time out of their very busy schedule to help a peer in need. Thank you Kitt, my gratitude runs deep. 

So with that all said here we go down the rabbit hole just one more time. 

My favourite of the semester would have to be the castle, no shit. I knew 3 commands. Loft, extrude and cap. That is it, and I somehow managed to create this. Certainly not the cleanest work, but I don't think I could create something like this again. It is just so organic and well, a yard sale. 


The surface design study. Oh yeah this was fun... I really feel like I got the hang of hatching. I will never forget how I felt when Bryan told us we would likely never use hatching ever again. I felt like a child whose ice cream had just fallen on the sidewalk. 


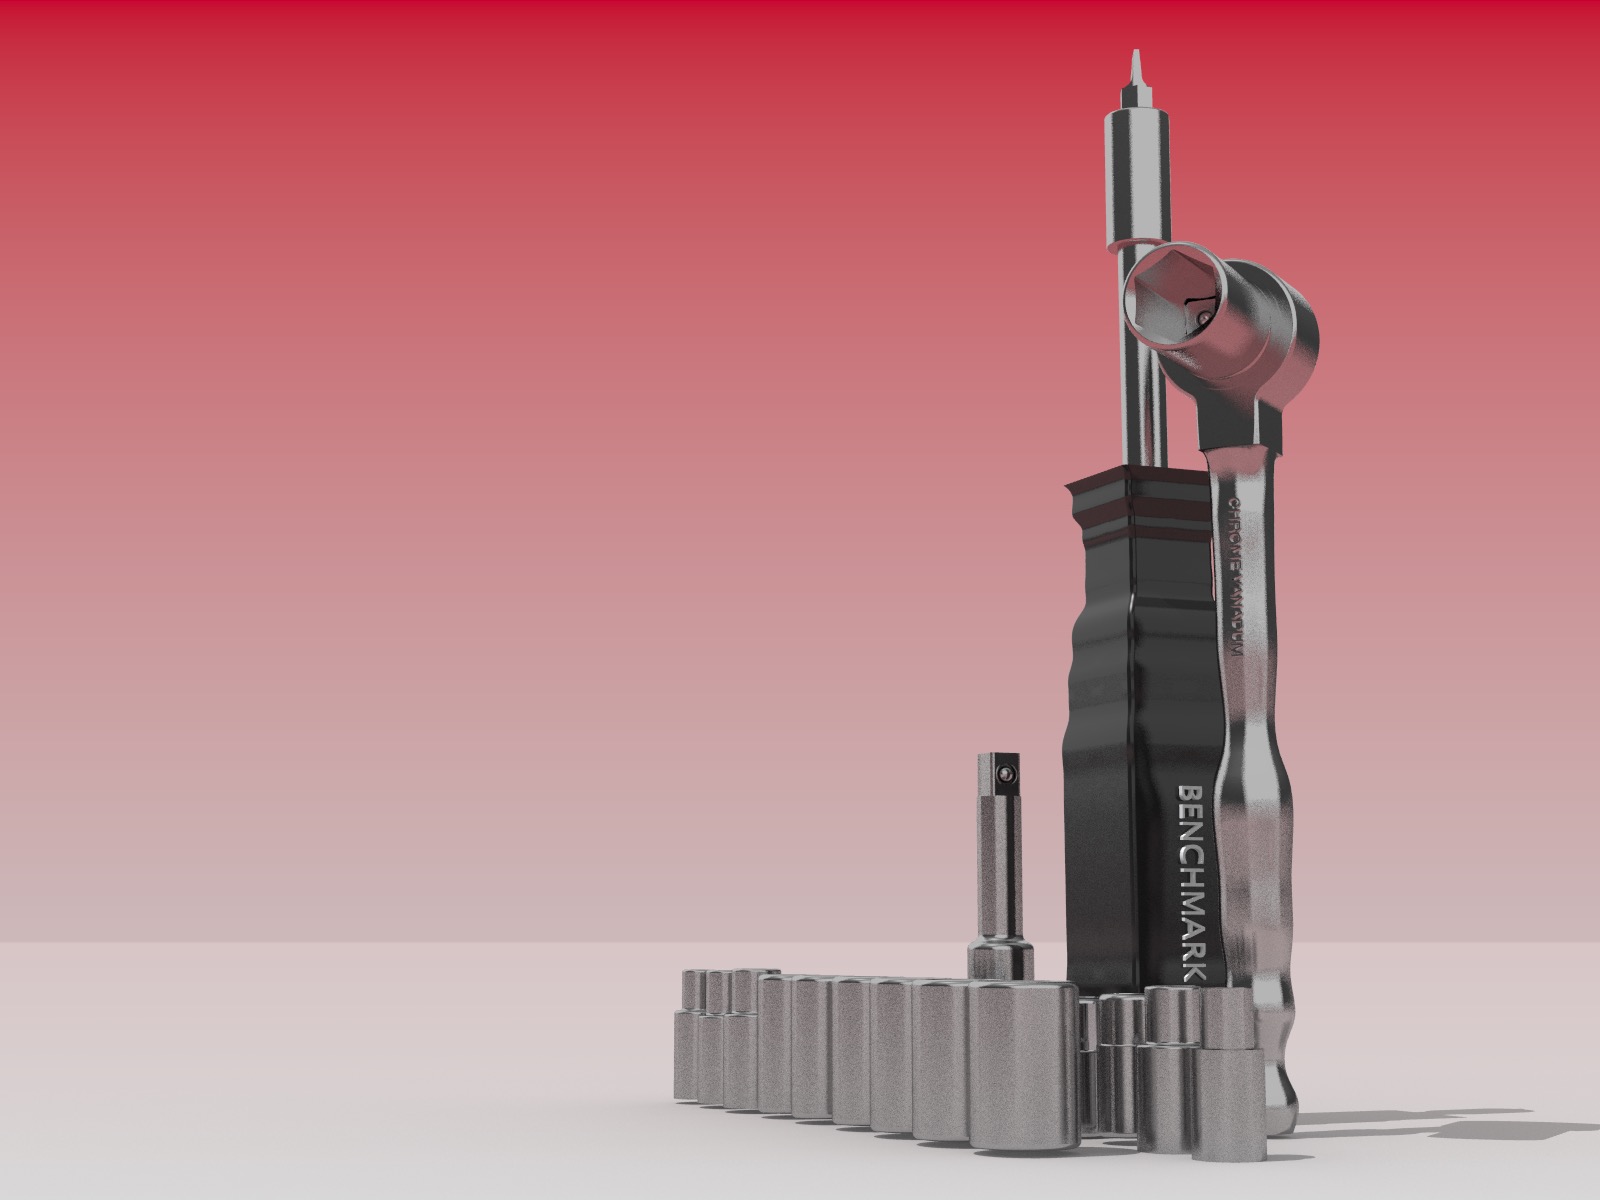
Next up the socket set, my very ambitious idea... Well I never finished, time was a major challenge for this one. There were just so many pieces, and so much measuring. I got tripped up on the tiny details of every little socket, and I only managed one driver bit, and never even got to the case, these were all challenges I could not overcome. I am happy with what I did produce and have a deeper respect for all 3D things in my life. 


Finally, the Island Ring. I was encouraged by all of my peers in the 1:1 meetings to explore this concept, and I am glad I did. Thank you peers! I was challenged by the terrain, as well as the tree, I never quite got it to where I wanted it. And with the hard lesson of learning you cannot un boolean union, it will remain the way it is. 


I'm very proud of what I accomplished this semester and was a tad disappointed we never did the chess set, I'd been thinking about how I would go about it all semester. I drew up a quick and dirty design (Bryans words), and I can do that now because I've got some skills, Thanks Bryan! Not only for the skills but getting us through this crazy surreal semester. You killed it. 


Thank you all for a great semester in these extraordinary conditions. I hope to meet you all face to face one day, and high five. Wishing you all the best going forward. 

J. Broz, over and out. 


Monday, November 23, 2020

Wearable Object - Finalize and Verify

 Happy happy Monday, 

I am pleased, very pleased with how this turned out. 

And so, here we go... I could have easily spent another 40 hours playing with this design and little elements I could have added or experimented with. This ring was designed after a place in Bali called Tanah Lot Temple I visited in 2018, a temple out in the middle of the ocean and only accessible by boat unless the tide was out. I left some design elements from the original, and added some whimsical natural elements. Everyone I talked to during the peer assessments agreed that this concept would be a great one to explore. I'm really glad I listened and got to this. There was a lot to work out through the process. 

Ahhh the patience one needs while waiting for things to render. Good things come to those that wait 45 mins per render. 


Green Means GO! 


Plus, I owed this from last week. I spent all my time on this ring that I never got back to fixing my third one. 


Hope you had as much fun with your ring as I did mine. I can't wait to wear this someday if we ever get to be together again. 

Until next time, J.Broz over and out. 


Tuesday, November 17, 2020

Wearable Object Progress 1

 Monday November 16th. 

Okay, it's been a hell of a week, and so I'm not as far as I would like to be. I ran into some challenges and although I feel like I've got some skills now, I still doing baby steps it seems and getting nowhere fast. Thanks to my group partners for the feedback, the maps, the island ring were popular. Talked about the maps not having to be literal, or true to the map, could play with the city plan, shapes, alignment. I like this idea, however I need some time to massage it out. The FLOW command wasn't working for a bracelet sized piece. 

I do like where this is going, but not my best concept for this assignment. I had challenges with the tube junctions and I think I may pull them all together. 


Island Ring, I think this is my best concept out of the three. I found the terroir to be super tricky and I went online and found a command called PATCH, it did not work... at all. I got some sort of space looking thing that was.... well I don't even have the words. The little house didn't turn out the way I wanted, needs more problem solving. Haven't tried the tree yet... eeek! 


Okay my 3rd piece... I really liked the way that I had created the flowers and how they extruded. I know there are broken surfaces, however I really liked the way it looked. It did not work at all, I tried so many times but all I got was this mess. Le sigh 


My last ditch attempt to have three rings done for this assignment actually worked but, it has no where near the flair I would like it to. 


Structure Collab Final Week

And we've made it. Half dead, and really sleepless. I am glad to see that this project has come together, although I am not sure we are ...